Note: Installing too many fonts on your website can slow the loading speed of your web pages. Installing a font on your website is different than using the font on a page. Using too many different fonts on a page makes it slow to load. This is bad for the user experience. Use with caution. We recommend a maximum of two fonts (including the heading font and the main text font).
This guide will show you how you can install the Urdu font on your SingleBolt website.
We want to go from default-font display like this:
حدیث دل کسی درویش بے گلیم سے پوچھ
خدا کرے تجھے تیرے مقام سے آگاہ
To this:
حدیث دل کسی درویش بے گلیم سے پوچھ
خدا کرے تجھے تیرے مقام سے آگاہ
We will be using the free service called Google Fonts.
Google font has two standardized Urdu fonts available for your free use:
- Gulzar (see samples here)
- Noto Nastaliq Urdu (see samples here)
We will be installing Gulzar in this tutorial. You can install Noto Nastaliq if you like, or upload any other font you want onto your SingleBolt website.
Please note, this works best with our recommended WordPress block themes. As you get one with your subscription to SingleBolt, this tutorial is based on installing Gulzar font on your SingleBolt-supported theme.
Steps to Installing Gulzar Urdu font
Navigate to your Appearance > Editor page
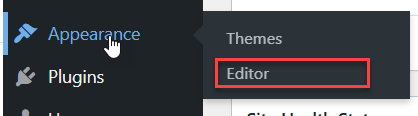
Click on Styles and then click on Typography
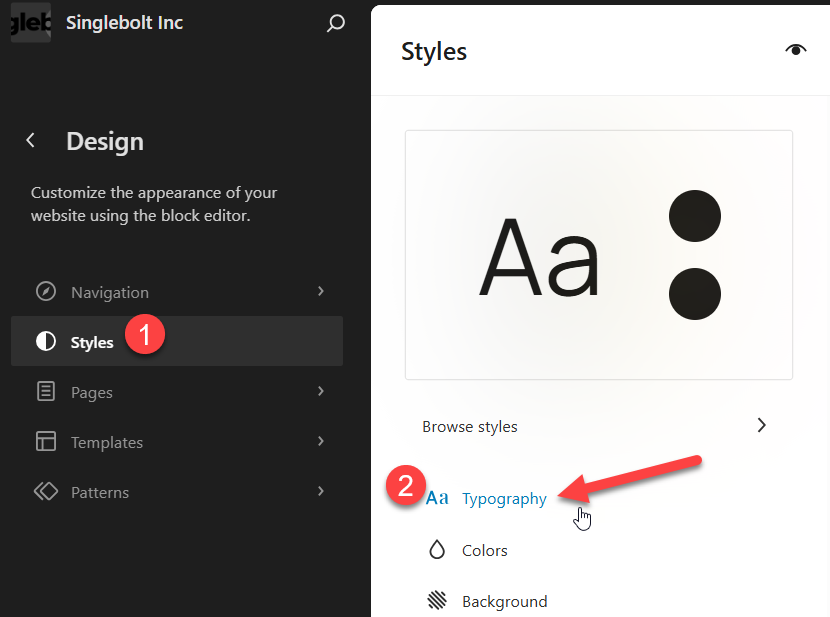
Once you click Typography, you will see your Styles and Fonts installed for your WordPress theme.
Click on the Settings icon as shown:
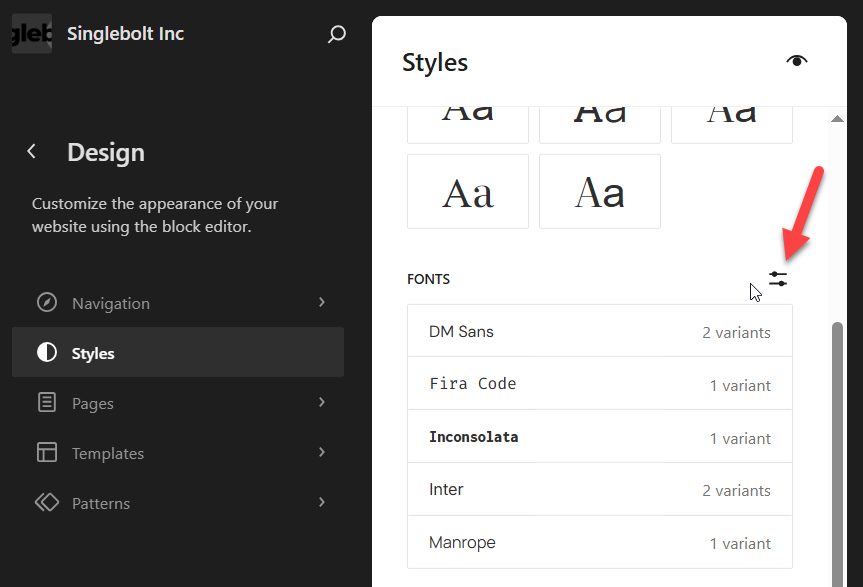
This will open up the window where you can manage your theme fonts.
You need to install this font so it is accessible in your dropdown menus when you are editing your posts/pages.
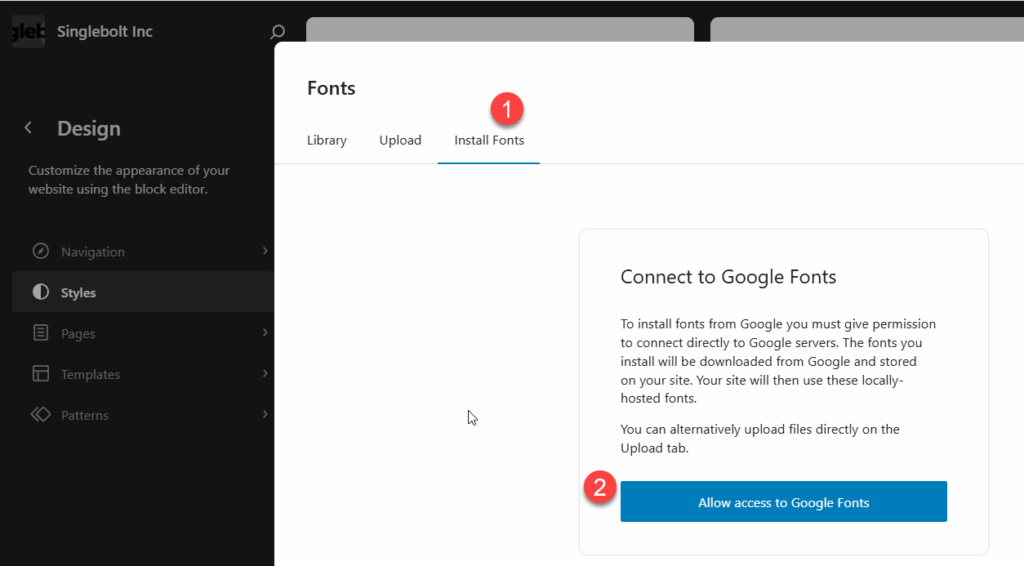
Click on Install Fonts and if required, connect with Google Fonts:
You will see a lot of fonts here.
We are looking for a specific font (that’s where it helps if you know which font you want to install exactly).
We already know that there are two main fonts made available by Google Fonts for us to use (for free!).
Type in “Gulzar” in the Search bar. Then click on the font you see as it appears in the results:

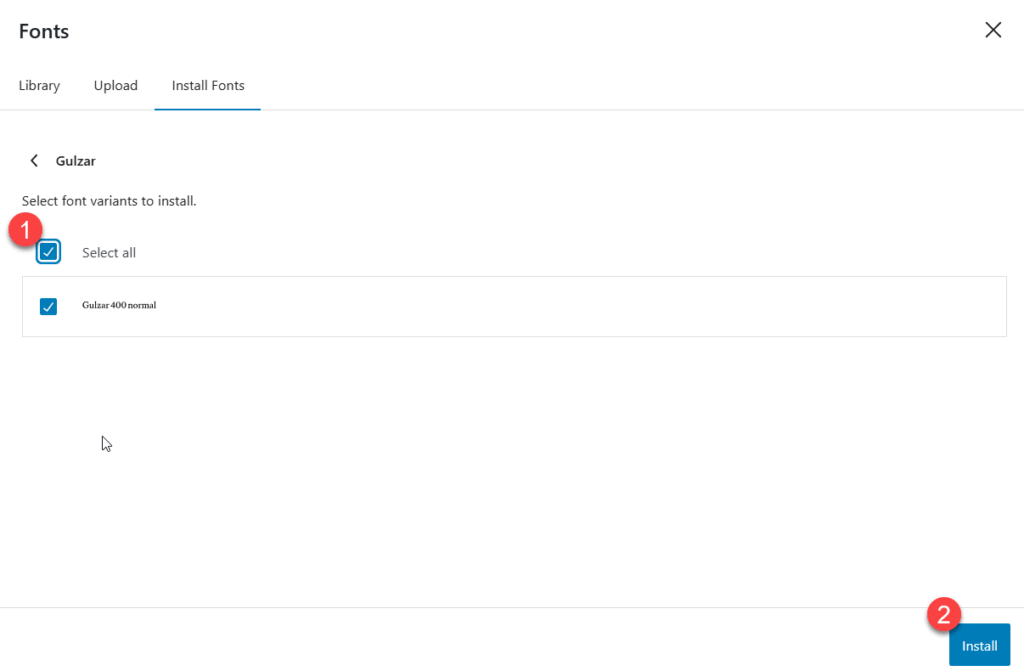
Once you click on the font, you will see the option to install different variations of that font.
For Gulzar, Google only has one variation, so we will install that. Click Select all and then click Install:
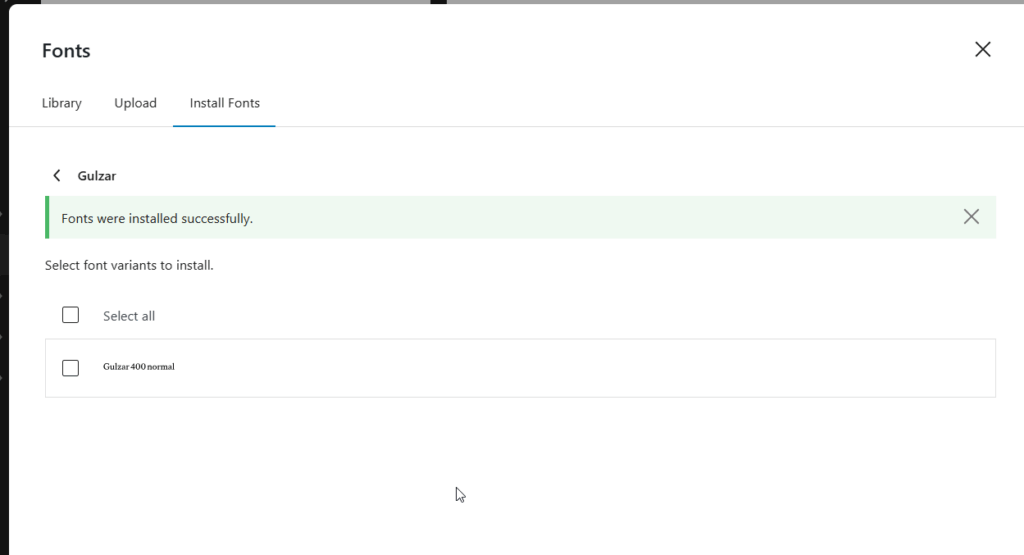
You would see a message that the font has been installed:
Now you can exit your Design section of the website.
Click save if it asks you to save any changes.
Using the Installed Font in Your Posts and Pages
Now that we have installed the Urdu font, we can create or edit any post or page.
If this is your first time installing fonts for your WordPress website, the Font section may not even display when you are editing your posts.
Let us see how you can make sure you are able to select your Urdu font so that your text is not displayed in the default font, but is displayed in the font of your choosing.
To show the Font menu and make the changes, you need to do a few quick changes in the Block settings:
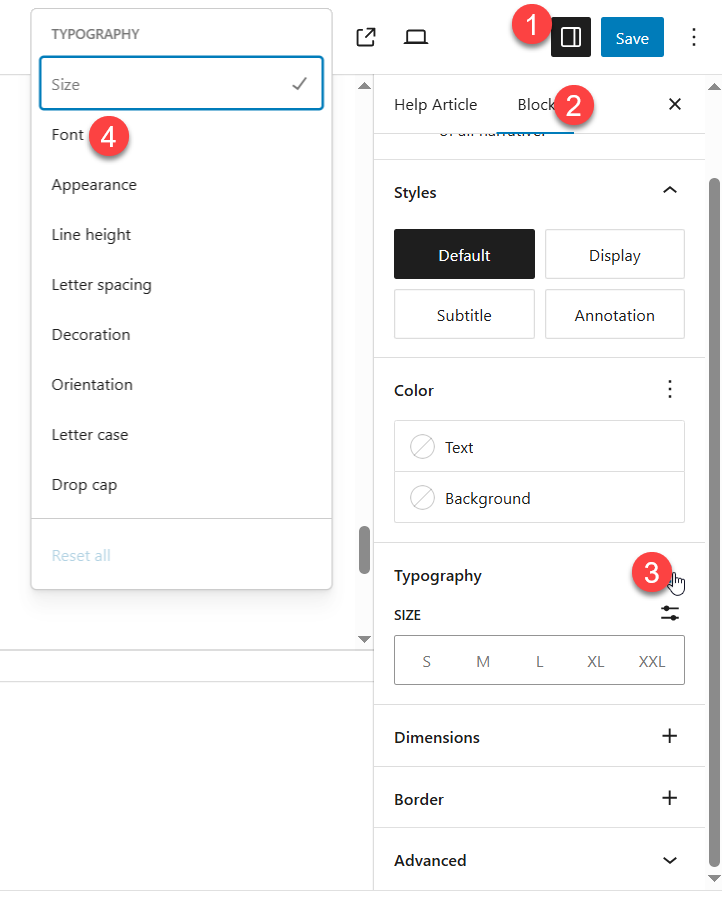
If you don’t see the right-side pane when you are editing posts or pages, click on the top icon (as shown on the image above).
Then click on Block menu. When you click this, make sure you are in your Paragraph block where the Urdu text already is (the Block menu will show the setting for the Block you have already selected in the editing window).
Then click Typography as shows in the above image. Then click Font.
This will show the Font drop down menu in the Block settings.

Click on that to show the list of fonts installed on your website theme. Select the font you want to use and the font will be applied to your selected block.
Hope this helped. Any questions, do not hesitate to ask us. Thank you for your support and trust in our services.