Google Site Kit is the official WordPress plugin from Google that allows you to integrate key Google services directly into your website’s dashboard.
This provides a centralized location to view crucial data and insights about your site’s performance, helping you make informed decisions to grow your online presence.
This guide provides a step-by-step walk-through for installing Site Kit, connecting the essential services, and then integrating your Google Ads and YouTube accounts.
Part 1: Initial Installation and Connecting the Basics
This first phase covers installing the plugin and connecting the foundational Google services: Search Console and Google Analytics.
Step 1: Install and Activate the Site Kit Plugin
- Log in to your WordPress admin dashboard.
- Navigate to Plugins > Add New.
- In the search bar, type “Site Kit by Google“.
- Find the plugin in the search results and click Install Now.
- After the installation is complete, click Activate.
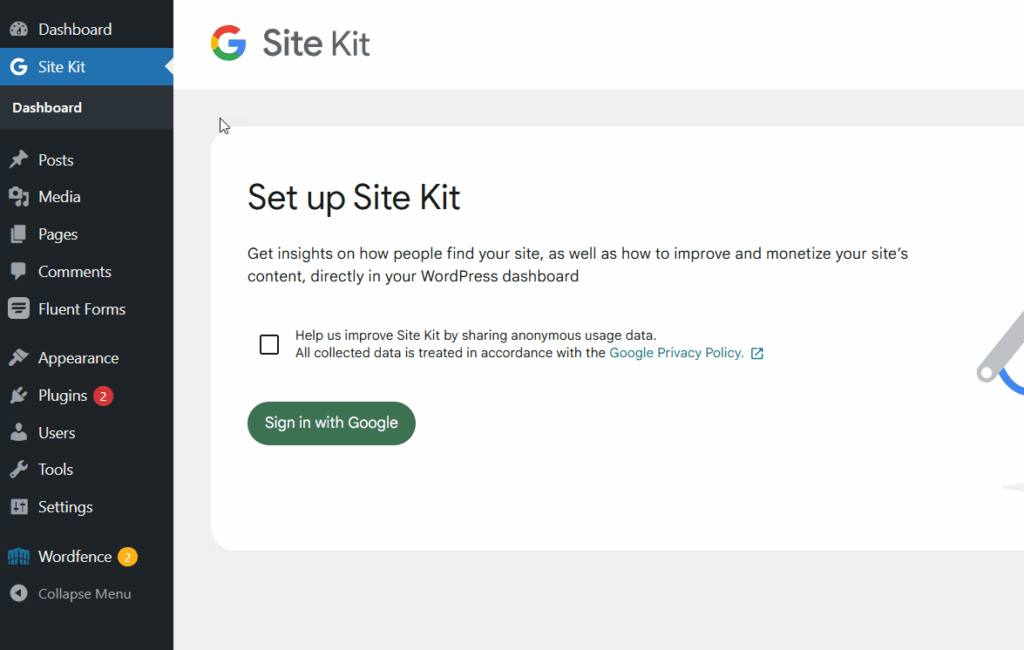
Step 2: Begin the Setup Process
- Once activated, you’ll see a banner or be redirected to the Site Kit setup page. Click the Start Setup button.
- You will be prompted to sign in with your Google account. It’s crucial to use the Google account that is associated with your Google Analytics, Google Search Console, and Google Ads properties.
Step 3: Grant Permissions and Verify Site Ownership
- Sign in to your selected Google account.
- Google will ask for your permission to allow Site Kit to access data from various services. These permissions are necessary for the plugin to function correctly. Click Allow on the permission screens (you may see several).
- Site Kit will then automatically verify that you own the website, typically by using your Google Search Console access.
Step 4: Connect Google Analytics
- After verification, Site Kit will automatically detect if you have a Google Analytics property for this website.
- It will display the corresponding Account, Property, and View. Ensure these are correct.
- Click Configure Analytics to complete the connection. Site Kit will automatically add the necessary tracking code to your website.
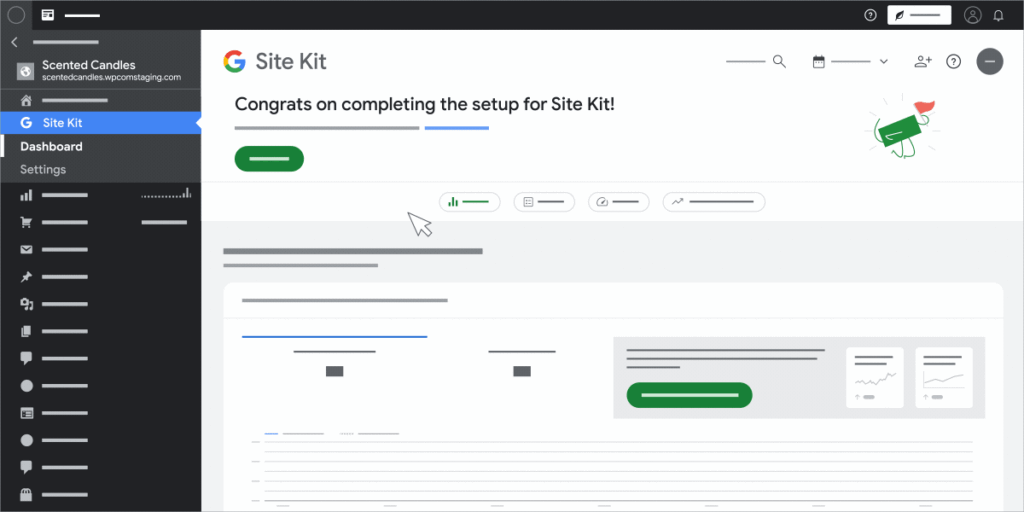
Initial Setup Complete! At this point, two core Google services are connected and feeding data into your dashboard:
- Google Search Console: See how your site performs in Google Search, including clicks, impressions, and the search queries users enter to find you.
- Google Analytics: Access detailed audience insights, traffic sources, user behavior, and conversion data.
Part 2: Connecting Your Google Ads Account
After the initial setup, you can connect additional services, like Google Ads, to track your campaign performance.
Prerequisite: You need an active Google Ads account and your Conversion Tracking ID. It usually looks like this: AW-123456789.
Step 1: Navigate to Site Kit Settings
- From your WordPress dashboard, go to Site Kit > Settings.
Step 2: Connect the Google Ads Service
- Click on the Connect More Services tab.
- Find Ads in the list of available services.
- Click on Set up Ads.
Step 3: Link Your Google Ads Account
- Site Kit will ask you to select the Google account associated with your Ads campaigns (this should be the same one you used for setup).
- The plugin will attempt to automatically detect your Google Ads account and Conversion ID.
- If it finds it, confirm the details are correct. If not, it will provide a field where you can manually paste your Google Ads Conversion Tracking ID.
- Click Confirm or Complete Setup.
Once connected, Site Kit will place the necessary tracking tag on your site, allowing you to monitor ad conversions and performance directly from WordPress.
Part 3: Connecting Your YouTube Channel
If your brand has a YouTube channel, connecting it can provide valuable insights into your video performance alongside your website data.
Step 1: Go to “Connect More Services”
- As before, navigate to Site Kit > Settings > Connect More Services.
Step 2: Set up YouTube
- Find YouTube in the list of services.
- Click on Set up YouTube.
Step 3: Grant Permissions
- You will be prompted to sign in with the Google account that manages your YouTube channel.
- Grant Site Kit permission to access your YouTube Analytics data.
Once connected, your Site Kit dashboard will display key metrics from your YouTube channel, such as views, impressions, and traffic sources for your videos.